The System File Checker (SFC) is a command-line tool that scans protected system files and attempts to repair them. The SFC is one of the most powerful commands in the Windows arsenal, and can be used to troubleshoot a wide variety of issues. In this blog post, we’ll show you how to use the SFC command prompt to fix Windows. Stay tuned!
What Is the System File Checker Command Prompt and What Does It Do?
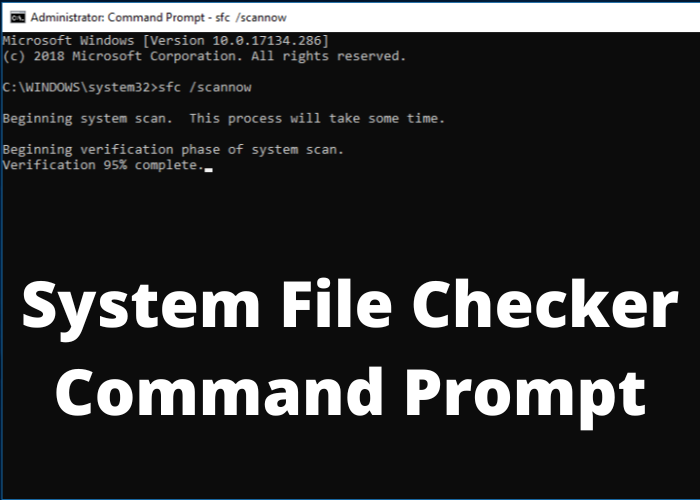
The System File Checker is a utility in Windows that allows users to scan for and restore corruptions in Windows system files. If a file is corrupted or missing, the System File Checker will replace it with a cached copy from a previous version of Windows. The System File Checker can be run using the Command Prompt or PowerShell. To use the Command Prompt, open the Command Prompt as an administrator and type “sfc /scannow”. This will scan all protected files and attempt to repair any that are corrupt. Alternatively, you can use PowerShell by running the “Get-FileHash” cmdlet. This cmdlet calculates the hash of a file, which can be used to verify its integrity. For more information on the System File Checker, consult the Windows help documentation.
How To Run the System File Checker Command Prompt on Your Computer
The System File Checker or SFC is a utility in Microsoft Windows that allows users to scan for and restore corruptions in Windows system files. To run the SFC, follow these steps: 1) Open the Command Prompt as an administrator. 2) In the command window, type ‘sfc /scannow’ and press Enter. 3) The scan may take some time to complete, and will automatically restart your computer if it finds any errors. 4) Once the scan is finished, you can check the results in the Event Viewer. If no corruptions were found, you will see a message saying “Windows Resource Protection did not find any integrity violations.” If corruptions were found, you can use the ‘DISM’ tool to repair them.
What To Do if You Find Errors After Running the System File Checker Command Prompt
If you find errors after running the System File Checker command prompt, there are a few things you can do to fix the problem. First, try restarting your computer. This will often clear any corrupt files that may be causing the issue. If the problem persists, you can try running the System File Checker command prompt again with the ‘scan now’ option. This will scan your system for any corrupt files and attempt to repair them. If the issue is still not resolved, you can try using a third-party file recovery tool to restore any missing or corrupt files. With a little patience and trial and error, you should be able to resolve any errors that occur after running the System File Checker command prompt.
How To Fix Common Errors That Can Occur When Using the System File Checker Command Prompt
The System File Checker is a command prompt utility that can be used to scan your computer for missing or corrupt system files. To use the System File Checker, you will need to open the Command Prompt bypressing the Windows key + R, then type cmd and press Enter. In the Command Prompt, type sfc /scannow and press Enter. The System File Checker will now scan your computer for missing or corrupt system files. If any errors are found, the System File Checker will attempt to fix them automatically. You may be prompted to restart your computer after the process is complete.